I’ve been posting way too many fails lately, I have been trying way too many new things too, so not feeling terrible about it….yet! The best thing about failing in the kitchen is… knowing i dont own a restaurant.
This trenzas de brioche recipe is one delicious thing I remember eating back in Venezuela, of european origin like most of venezuelan cooking, spanish, italian and french influence mainly (talk about the best combo ever), adopted by portuguese immigrants during and after the WWII, this dish and many variations of it could and can be found in any “panaderias” (bakeries) all over the country mainly owned by the portuguese.
Here’s a recipe which instead of butter uses olive oil:
600 AP flour
250g whole milk
120g (2) eggs
100g olive oil (extremely nice and moist fluffy finish, fragant)
50g sugar
8g yeast (1 packet highly active yeast)
8g kosher salt
Egg wash and wet sugar glaze.
I’ve been spending more an more time reading about baking and dough recipes and some of the science behind it. Extremely fascinating, and extremely vast, the more I read the more I realize how little I know about it, but anyways, I have learned a few things regardless. The first time I made this recipe, it was such a mess I didn’t even bother posting it, but I tried it again tonight, and the results this time were delicious! The spongy soft texture of the inside, the smooth and silky crust… ah, so good!
1. Mix milk (lukewarm), sugar, yeast and let yeast do its thing.
2. Mix kosher salt and AP flour in the stand mixer container..
3. Beat eggs, add to yeast mixture.
4. Add olive oil to yeast mixture.
5. Mix dough until dry and wet ingredients are well incorporated. Do not over knead.
That was my first mistake last time, I kneaded the dough too much, it developed too much gluten, and it made the dough hard to work with, and less flaky than it should have been.
This time i kept the mixer on for a minute, let the dough rest, checked, mixed a little longer, but only enough to mix all the ingredients well, always using the lowest speed.
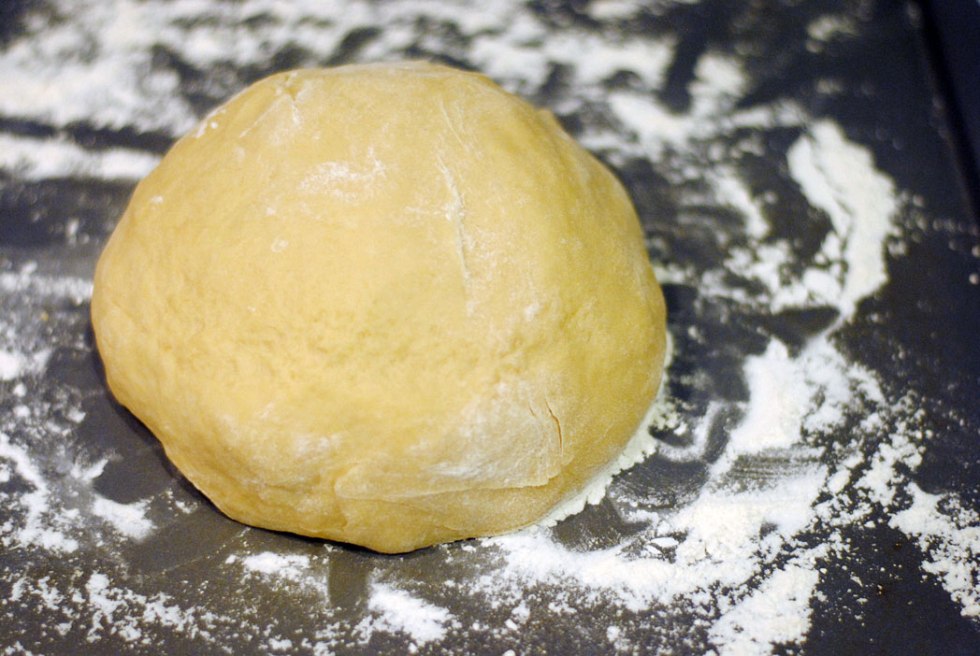
6. Finish the dough by hand, added a little more flour, made a ball and let it rest for 20 minutes which allowed the little gluten formed to relax.
I dont think I did this last time either.
7. Sprayed water over the dough while it rested, to keep the surface from hardening. It is pretty dry weather these days.
This is probably the most useful trick to control the crust hardening of a any baked good. I really wanted the crust of this bread to be thin and delicate, so I made sure I kept the surface of the dough hydrated, while resting and inside the oven.
8. Cut the dough in half, reserved one half for later (freezer) and cut the reminder in 3 sections.
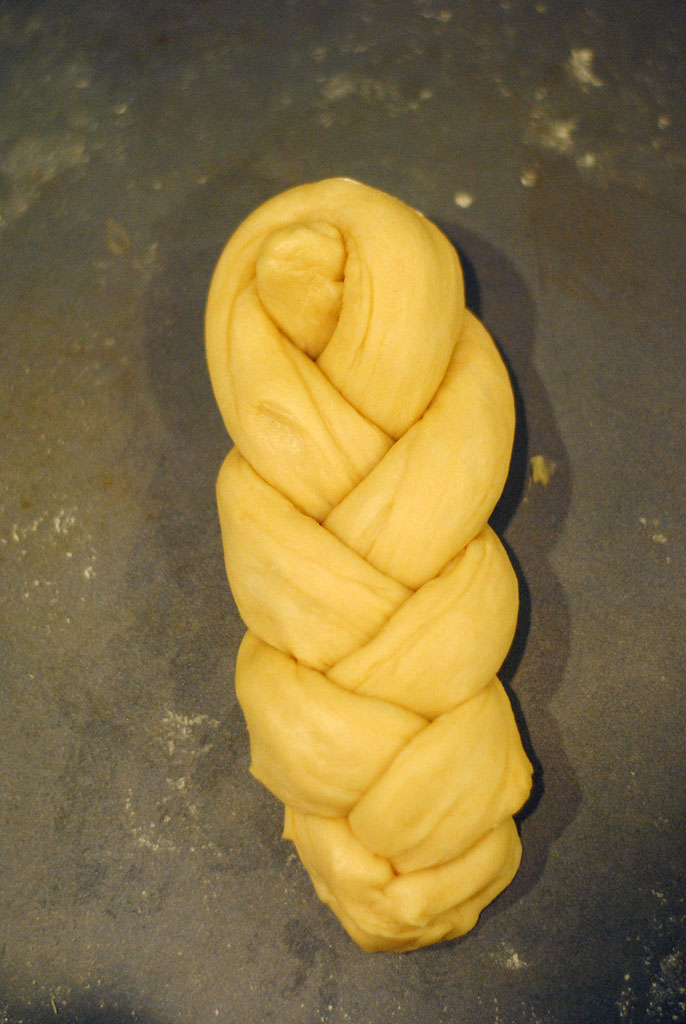
9. Made 3 “trenzas” or braids and placed them on a cooking sheet covered in tin foil.
10. Let them rise for about 45 mins, placed the sheet on the stove and let the oven heat warm up the dough and accelerate the rise.
11. Apply a simple egg wash right before they go in the oven.
Instead of the 1st and 2nd rise, the first rise is sort of cut short and the 2 rise is done on the baking sheet, the braids go in the oven with all the CO2 generated on the second rise. I’m sure by adjusting rising times, more interesting flavors can be developed.
11. Let the braids bake for 5 minutes at 415f, i sprayed more water over them and added a half a cup of water to a tray inside the oven to increase the moisture and get a more delicate crust. The high heat helps increase the oven spring, but it is important that the crust remains soft for the braids to rise the most.
12. Lowered the temperature to 350f for 15-20 mins and again sprayed more water over the braids, I kept checking I probably sprayed the braids a couple more times before they smelled so good i knew they had to be ready.
By spraying water over them I mean, very finely atomized water, I’m not soaking the braids, simply coating their surface with some moisture to delay crust formation. Worked like a charm!
As always, let the bread rest for a good 20 minutes before trying it. Some of the moisture inside the bread will be driven towards the outside crust softening it a bit. Out of the oven, the crust will always seem tougher than it will end up being.
done!


